Installation Service
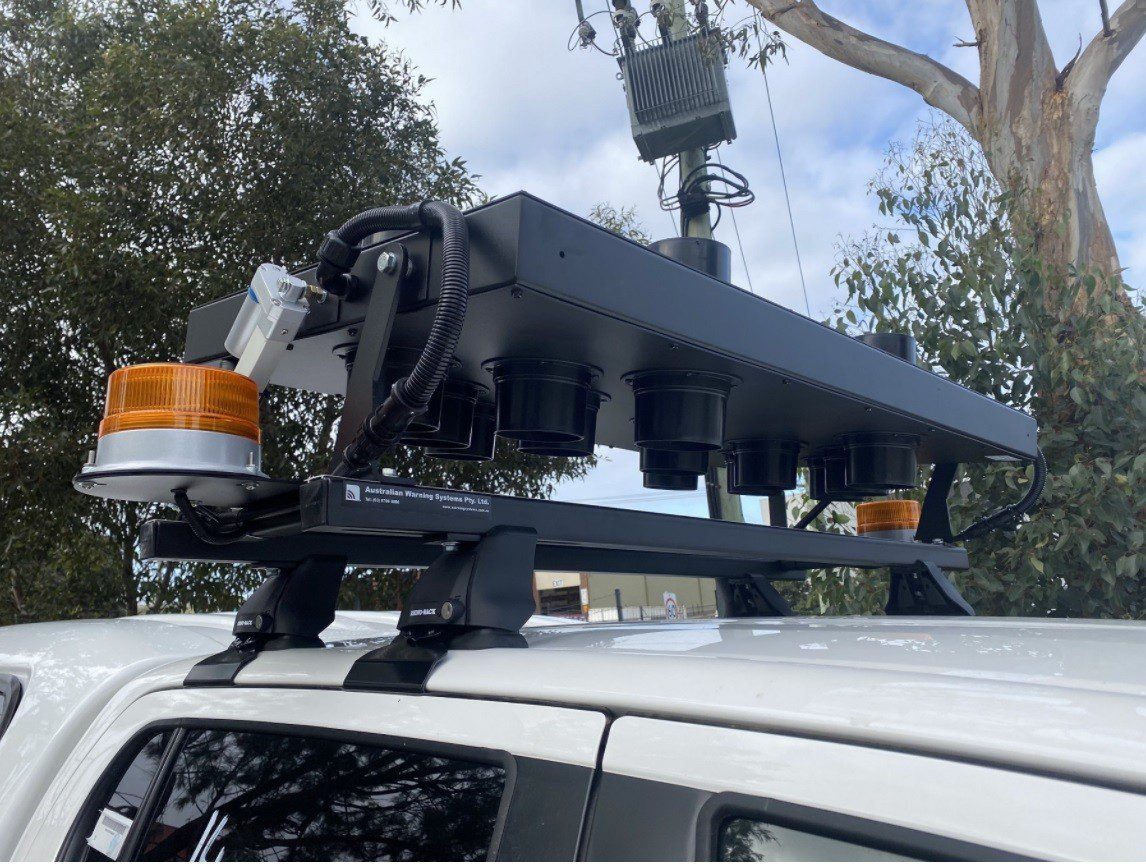
Professional Installation Services for Trucks, Utes, Emergency Services, Fleet & Trade Vehicles – All Vehicle Warning Visual and Audible Products Supplied & Fitted in Hallam, Victoria
For over 29 years, Australian Warning Systems has been supplying and professionally installing hazard and emergency vehicle warning systems and accessories from our Hallam facility. We service a wide range of industries, including emergency services such as police, ambulance, SES and CFA, mining, construction and road transport fleets, traffic control and pilot vehicles, councils and government departments, security patrols, buses and coaches, tow trucks, Line Marking, Waste Disposal, Materials Handling, aviation, Motor Racing, surf rescue, and any other vehicles operating on Australian roads that require compliance with safety regulations.
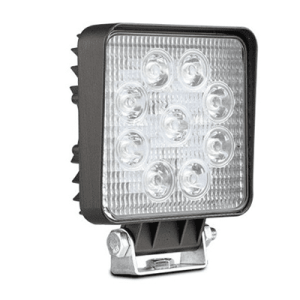
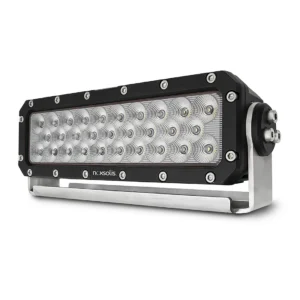
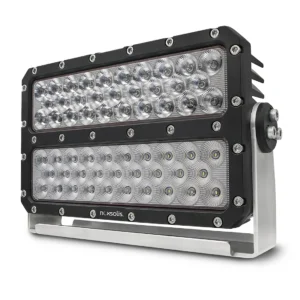
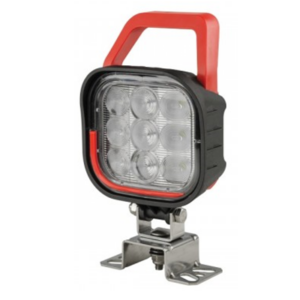
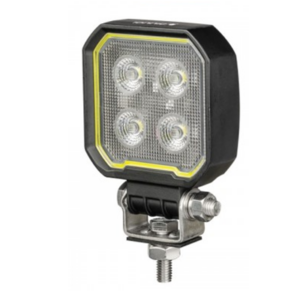
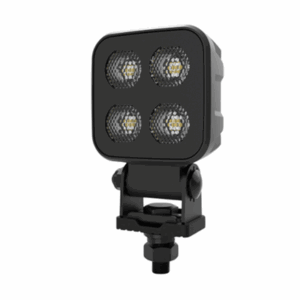
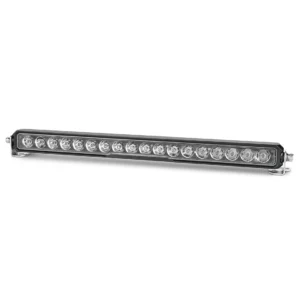
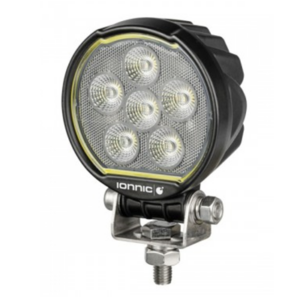
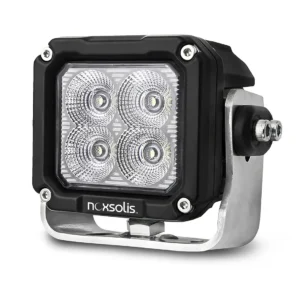
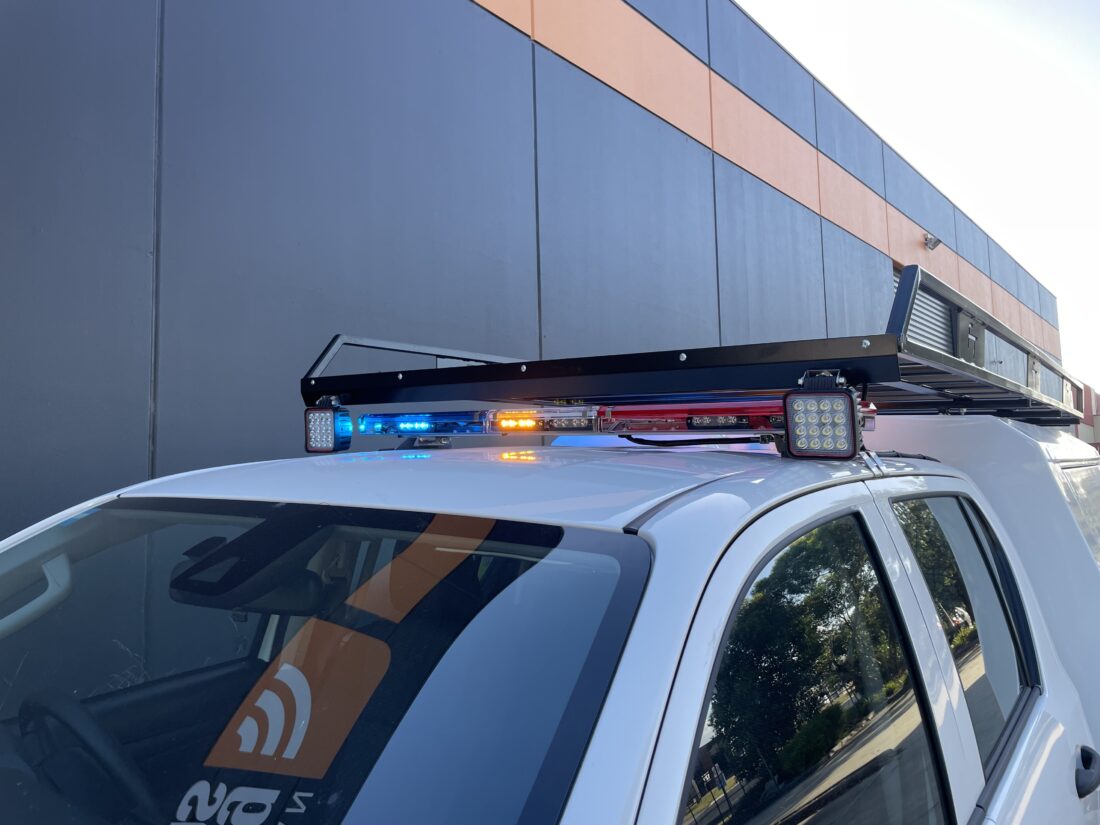
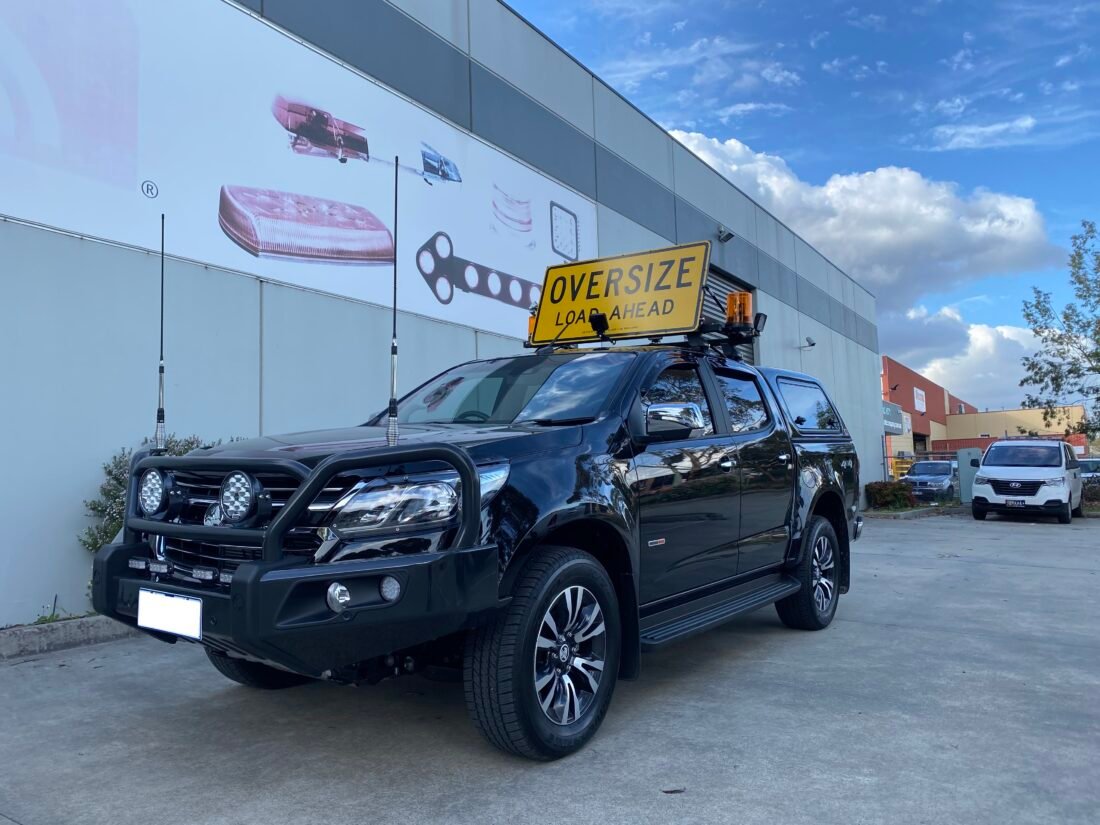
Our Hallam-based team specialises in fitting trucks, utes, emergency vehicles, fleet and trade vehicles with a complete range of visual and audible safety equipment, including LED light bars, arrow boards, VMS boards, TQ arrows, traffic directors, message displays, minebars, roof-mounted signs such as oversize load, patrol and workman signs, emergency sirens and amplifiers, beacons, alarms, flashers, work lights, auxiliary LEDs, UHF radios, intercoms, controllers, dash cameras etc...
Our experienced technicians understand that every vehicle is different. We provide fully customised fit-outs tailored to your operational requirements while ensuring full compliance with Australian Standards, state regulations, and government safety requirements. Whether you are equipping a single trade vehicle or a full fleet, our installations are reliable, professional, and designed to maximise safety, visibility, and operational efficiency.
To arrange an installation, contact our team today:
Phone: 03 9796 5880
Email: info@warningsystems.com.au